Recover a lampshade

As I showed off in my house tour, my dining room fixtures look like this now:
P1013605

They started as the same drop pendants, but with a thin marigold colored glass shade. The shade was so small that the fixtures disappeared in the room, and once I painted everything, the marigold color was just awful.

I bought two plain jane lampshades at Home Depot on clearance. Because the shades needed to hang from the ceiling, I needed shades with hardware conducive to that. Then I found this great fabric at a quilt store that had nearly every color I was working with. With all my materials, the rest was just a case of reverse engineering.

P1013602
Since mine was track lighting, I had to completely dismantle the fixture so I could thread the shade on. I just made a note to myself which wire went with which wire, and it was way easier than you’d think.

Here’s how the lampshades started:
P1013591

Then I just started peeling it apart. I took off the bias tape around the top and bottom and took note of these little ribbons covering the hardware.
P1013594

When I had gotten the entire shade off, I used it as my pattern and cut out the new fabric around it. Then I sewed the new fabric together in the same way the old one was. I stretched the new fabric around the outside, and then put the lining on the inside. I just started gluing as I went, bringing the edge of the lining around to the front and gluing in place. I made sure to use those little ribbons again so everything looked nice and tidy and covered up.
P1013599

Now to cover up the last of the mess. I made bias tape out of the same fabric (although I didn’t bother cutting it on the bias. I know there’s a name for this tape, but I can’t think of it.) by cutting a long strip two inches wide, folding each edge to meet in the middle and ironing (so now it’s 1″ wide) and then ironing the strip in half. (to make a 1/2″ strip with all raw edges tucked away inside.) I just glued that into place with Fabric Glue and they were finished.

One tip: if you use these shades as drop pendants, I’d recommend using a large washer in between the bulb and the shade. The big washer will hold the weight of the shade level better than a lightbulb on it’s own would.

Also: you don’t need to be too concerned about fire safety as long as you use the right bulb. Just don’t try to use a huge lightbulb in a small space and your makeover should work out just fine.

Micah’s Dragonskin Bag

Last Christmas Atticus was included (in utero) in Bear’s immediate family’s gift exchange. He got some crazy cute clothes “from” his little cousin Kai (including the tiniest velor tracksuit ever made), and as a fetus he was responsible for his cousin Micah’s present.

Micah is really into his “guys.” He collects all kinds of action figures and spends hour after hour making up elaborate scenarios for them to enact. When you sit and play with him he scripts your every move, telling you exactly what you should say and what your guy should do. He’s so the oldest kid.

This past Christmas he was really into knights and dragons. Michaels was carrying a line of action figures that featured ornate and colorful dragons along with the knights on horseback ready to defeat them. Between his parents and grandparents, he was getting the entire set.

Since these were a little more expensive than the average toy, Bear’s dad Mike really wanted Micah to understand that these were special. He suggested that I make some fancy little bag to carry all his precious guys around in.

071

I happened to have this fabric in my stash. It’s like a flannel with some kind of a plastic treatment over it creating a snakeskin effect. When I first saw the gray fabric I immediately thought of a knight’s tunic, but I thought a simple bag by itself wouldn’t be special enough, so I added the gold lame. I actually intended to create a simple piping but failed miserably. Instead I ended up creating these gold ridges that transformed the bag into a dragon. My favorite kind of mistake. I made a simple casing, leaving both sides open to make a drawstring, and threaded through some leftover bias tape. I’ve become completely enamored with fusible web, so I ironed on the monogram and fleur de lis. I love to personalize gifts for kids. I think every kid loves to see their name on stuff.

This was one of the most successful gifts I’ve ever given. He immediately stuffed his guys inside it and insisted on taking it out to the extended family Christmas party. I got the biggest kick out of listening to him tell all his cousins about his “dragonskin bag.”

Even now, nearly eight months later, it still merits his attention. I asked his mom Mari to bring it with her to the house so I could take the pictures I forgot to take and he would barely let it out of his sight. I didn’t get the greatest pictures out of it, but I don’t mind. I’d much rather see him love it too much to let me.

079

A Crafter’s Christmas starts in July

One of my ultimate goals it to be the house on the block that everyone shakes their heads at come Christmas time. The ones that are so ridiculously over the top that people refer to us as the Griswold house. I don’t know that it will ever happen on the outside. Right now our house is in a very tightly spaced neighborhood and we really don’t have a front lawn. Our house is maybe four feet away from the street and maybe just a touch further away from our neighbors (That’s Southern California for you.). We don’t really have a ton of room to work here. Plus, with our next house I really want to have some land, so we might be too far away from the street to bother with light displays.

At any rate, I’ve been trying to make up for our outward lack of Christmas enthusiasm by doubling up on the inside. Last year I debuted our 12 days of Christmas tree, and this year I want to add a third tree based on falling snow. In my head all the ornaments are snowflakes or icicles or snowballs, with touches of mirrors and pearls and a million little white lights to keep it fancy. Now that I’m starting to cross off some things on my to do list, I can start putting my plan to work.

The first item I’ve made is a garland, and it couldn’t be simpler.
P8272471

All I did was thread the fake pearls onto a huge length of fishing line, and use some shimmery glitter puff paint I had lying around to hold the pearls in position.
P8272473

I could’ve used any old glue I had on hand, but since I already had this I thought a little bit of glitter peaking out the sides could only add to the shimmer.

My philosophy on decorating trees is always more is more, so I frequently hang three ornaments from one branch to give the tree depth. Because of that, I think I’ll probably put this garland on last so I can arrange a little pearl everywhere I need one last little touch of something.

This explains things…

P1013346

Maybe this is why it takes me so long to get anything done.

I did it. Holy Cow.

If you’ve been paying any attention to my progress bars over there, you may have noticed one ignored forlorn little bar mysteriously titled “my craft book”. You may also vaguely remember some time around, let’s see….TWO YEARS AGO that I was asking for titles for a book proposal. And then of course my life exploded as I’ve diligently documented and all previous plans were tossed right out the window with the whole struggling not to go insane bit.

The other day a couple of the teenagers I work with at church came over and we had ourselves a crafty geek-out when we all realized we were in to the same stuff. I started showing them some of the things I’d made, and they got so excited about it all, it totally jump started my interest in finishing this book project off.

I’ve had it on my to-do list for the whole past two years, but it seemed like such an enormous undertaking. I kept thinking that there was so much work still to go into it that I’d never be able to get a handle on it. Right now I look for projects that can easily be broken up into ten minute chunks and done with one hand. Something that required so much organization and energy….I just couldn’t see it happening anytime soon. Having my girls cheer me on motivated me to at least take a peek at where I left everything to see what I could do with it, and I was astounded to discover that I had two projects to finish, and pictures to take. That was all that was keeping me away from being far enough along to see if anyone would want to publish it.

I finished the projects over the weekend, took the pictures about four dozen times over Sunday and Monday (San Diego does not give you ideal overcast picture taking weather. Oh I wish I was a better photographer), printed the photos and gathered all my writing together yesterday, and now my finished proposal is ready to send off into the hands of the publishers at Deseret Book.

I’ve been so close so many times with this creative stuff. The guys behind the kids show Yo Gabba Gabba are family friends of ours, and over the 4th I was talking briefly with one of them. We were joking about their fifteen year long overnight success and how many times they almost hit the big time. I had to just shake my head. If any one of the dozens of things I’ve tried had happened, I would be set. And so many of them were *thisclose* before they fell apart. I remember when Bear was still in law school, we went on a walk one night where he did the math on one of the deals that nearly went through, and it was big. Not just starving law student big, really big. One day I was emailing with Chinese manufacturers, and the very next the company had to completely restructure to stave off bankruptcy. And there went my big deal. The creative life is not for the faint of heart.

After all this I know so much better than to start planning for this to happen. There are a million reasons why the publishers could take one look at my proposal and throw it right in the trash. Maybe they think there’s not enough interest, maybe they’re already publishing something similar, maybe they think it would be too expensive, maybe they don’t get it, maybe they decide they don’t like me just by reading my letter, maybe they hate everything I made; who the heck knows.

After all these years of professional creativity, I’ve learned that all I have to offer is myself. I’ve done the very best I can with what is in me, and after that it is out of my hands. I have no way of predicting the response to it. This is a project I really really believe in. I’m so proud of what I’ve made, I really feel like there is a need for it. Despite all my caution, I still can’t help but think that this has a real shot.

Worlds Most Basic Quilted Coasters

One of the biggest adjustments for me in moving into this house was going from nasty crappy apartment carpeting to hardwood floors. There are so many things about having no carpeting that is just fantastic – especially to someone with OCD and three long-haired cats. I geek out on a regular basis about just how pretty the floors look, especially up against such vibrant paint colors.

They have proven a bear to keep clean though. I always thought it was a simple sweep and mop on a regular basis, but that never seemed to cut it. Even after we finished the majority of the construction and I was finally able to scrub the floors, it never lasted. We walked around with black gritty feet for the first six months we lived here. I used to go stand in the shower at least three times a day just to wash off my feet. I bought three different brooms and four different mopping solutions, and the problem was always the same. The floors looked gorgeous for a couple of hours, and then the first time anything touched it – a foot, a sweaty can of Coke, a kitty paw – a mark was left and all my work was ruined.

I finally found the solution after asking around, and this was recommended by some wood floor installer guys. It’s fantastic.

Before I found my long-term solution, I kept trying to find ways to make the life of my clean floors last a little longer, and since I never successfully managed to keep the cats from walking across whatever I just mopped, the best short-term solution was to use coasters to keep anything I could from touching the ground.

Here’s my little simple tutorial for you. If you’ve ever sewn at all these will probably be intuitive, but if you haven’t, this is a great place to start.

1. Cut your fabric pieces to size. You’ll need one square cut to 3″x3″ for the center, one square cut to 4″x4″ for the back, two short sides cut to 1″x3″, and two long sides cut to 1″x4″, along with some kind of batting cut to 3″x3″.

P7312303
2. Sew the sides to the center piece. Start by sewing the short side pieces to the center piece across from each other and press open. Then sew the long pieces to the other two sides and press open.

P7312305
3. After you’ve pressed the front, lay the front of the coaster onto the back of the coaster, right sides together, and sew all the way around, leaving an inch or so open at the bottom.

P7312316
4. Turn the coaster right side out through the hole you’ve left behind, and press. Stuff with your batting.

P7272296
5. Sew around the outside of the coaster with a cute topstitch to close up your hole and to keep your batting in place. I also used a tiny stitch width to do an easy machine quilt around the flower pattern.

If you have a great memory, you might recognize these fabrics as left overs from an apron I made. The teal cotton was so heavy that it was impossible to get a crisp edge. If I had used a quilters weight cotton I probably could’ve made it look much less homesewn, but I was going for using up stash. For the stuffing I just used some fleece I had left over – again, using up stash. These coasters are not only ridiculously simple, but you can toss them right in the washing machine when they get nasty.

Long Overdue House Tour, Day Four

So obviously you’ve noticed by now that the majority of our year of projects have been painting. We have literally painted every surface in this house except for the floors. All the time we were renting apartments, painting was what I looked forward to the most in home ownership. Now I dread the thought of picking up another brush.

I’ve tried to work on a few sewing projects throughout the year, just to change up the pace, but most of what I’ve wanted to sew had to wait until the paint was done. It doesn’t make a ton of sense to sew curtains while you’re still choosing paint colors.

For today I thought I’d focus on a few of those other projects that didn’t require a whole new wardrobe of paint clothes. This picture offers a two for one shot.
P1013655

The tulip chair in the background came with this tiny little fraction of a pillow that did nothing to disguise the screws and metal base that were jabbing you in the behind. I made that upholstered cushion, and now I can spend hours on the internet without my butt falling asleep.

The blue rocking chair in the foreground used to be my red rocking chair that the kitties disfigured. It was my first full upholstery project, and it actually was a lot easier than I thought it would be. I took pictures as I took off the old fabric to remind me how it all went back on, and then I was just liberal with the staples. Now that it’s done I love it, but the fabric frays really easily so it wasn’t the best choice with three cats running around. I’ve had to spray the whole thing down with anti-kitty spray and still threaten them all within an inch of their fuzzy little lives.

This project I’m particularly proud of.
P1013605
In the dining room we have track lighting, and no attic clearance to do anything else. We had two pendant lights hanging over the table that were marigold yellow glass and totally boring. I looked everywhere for track lighting pendants and I couldn’t find anything decent for love or money. I finally got the idea to thread a regular shade over the wire and let the bulb hold it up, but it proved more difficult than I thought. The track lighting is all wired together as one piece, so I couldn’t do anything as simple as removing a bulb. I ended up having to take the lights down entirely, completely dismantling the whole thing, taking the wires apart, threading the shade onto it, and then rewiring the whole thing. They look Worlds better, and I felt like a real tough chick rewiring all the lighting.

Here’s a closeup view of the Rookie’s quilt:
P1013661

This was actually my first quilt start to finish, and I’m pleased as punch. It was also my first time experimenting with machine appliqué, and after a few false starts, I figured it out and had a great time with it.
P1013660

In this picture you can also see that cream tone on tone alphabet fabric. Bear found that fabric for me too and it brought the whole room together.

Whew. So, that’s what I’ve managed to accomplish this year. That and making a baby and not dying and escaping fires and losing jobs and gaining jobs and all the other craziness that’s marked this year. I would really like a break now.

Inspiration Wall

Ever since Christmas my nesting has hit hyperdrive. I’ve had a million and one projects lined up patiently waiting for me to finish up construction and painting and Christmas, and I was trying to race through and finish them before the Rookie arrived to demand all of my attention. Of course, he kind of thwarted my plans in about five different ways, but I’m still doing my best to make dents in my plans here and there.

Last summer I was at Urban Outfitters and came across a collection of 10 matching frames in a variety of sizes, just perfect for doing a great grouping (what do you know, they still carry them!). I snapped them up and immediately had plans to fill a wall with them. I imagined filling them with great fabrics or scrapbook papers, something really colorful and graphic. Then I proceeded to set them in a corner of my studio and ignore them for six months. That turned out to be a happy accident, because over those six months I completely changed plans and came up with something I am just wild about.

I decided to use them on a wall in my studio, which made me think of using them as an inspiration wall. I love reading craft blogs and seeing magazine clippings and paint swatches and fabric samples all over the walls as one big gorgeous creative mess, but I’ve never really been successful in using one. Mainly because I don’t seem to have enough hard copies of what inspires me. I usually just use my bookmarks folder as my inspiration wall. But thinking on the topic of inspiration walls got me thinking about a different form of inspiration, so I began collecting quotes that really moved me in a creative direction.

Once I selected all my quotes, I braved my limited Photoshop skills and made jpegs of the quotes all decorated up, then had them printed as photos at Costco.
P1013077

I cut pieces of paper to the sizes of the frames, and taped them up on the wall until I found the magic grouping that made me happy.

P1013078

I just love it. Instead of sewing when I’m sitting at my desk, I find myself staring at it. And every quote is so meaningful to me, it totally kicks my butt in all the best ways.

Here you go. My gift to you. Feel free to download for personal use, but please credit me if you use them online. I hope you find them inspirational.

I am not afraid. I was born to do this. – Joan of Arc.

Share your knowledge. It’s a way to achieve immortality. – Dalai Lama


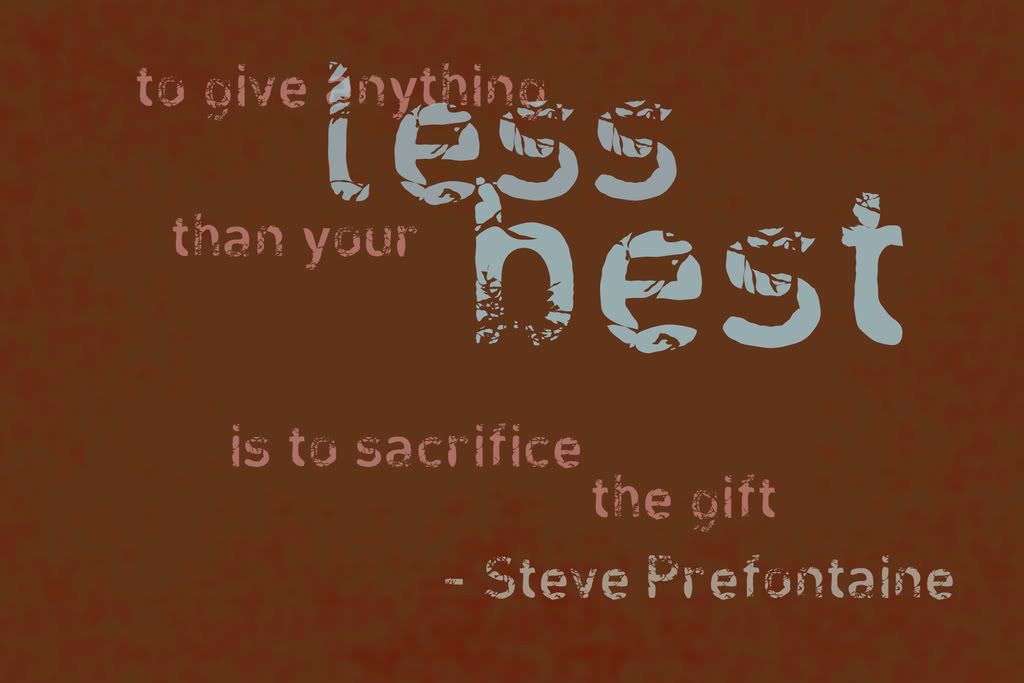
To give anything less than your best is to sacrifice the gift. – Steve Prefontaine

I am not giving you these experiences for yourself. Write them down. – Henry B. Eyring

One hour devoted to the pursuit of beauty and love is worth a full century of glory. – Kahil Gibran

Creativity is allowing yourself to make mistakes. Art is knowing which ones to keep. – Scott Adams

If you want to move the world, you first have to move yourself. – Deiter F. Uchtdorf

Our deepest fear is not that we are inadequate. Our deepest fear is that we are powerful beyond measure. – Marianne Williamson

We don’t have an eternity to realize our dreams, only the time we are here. – Susan Taylor

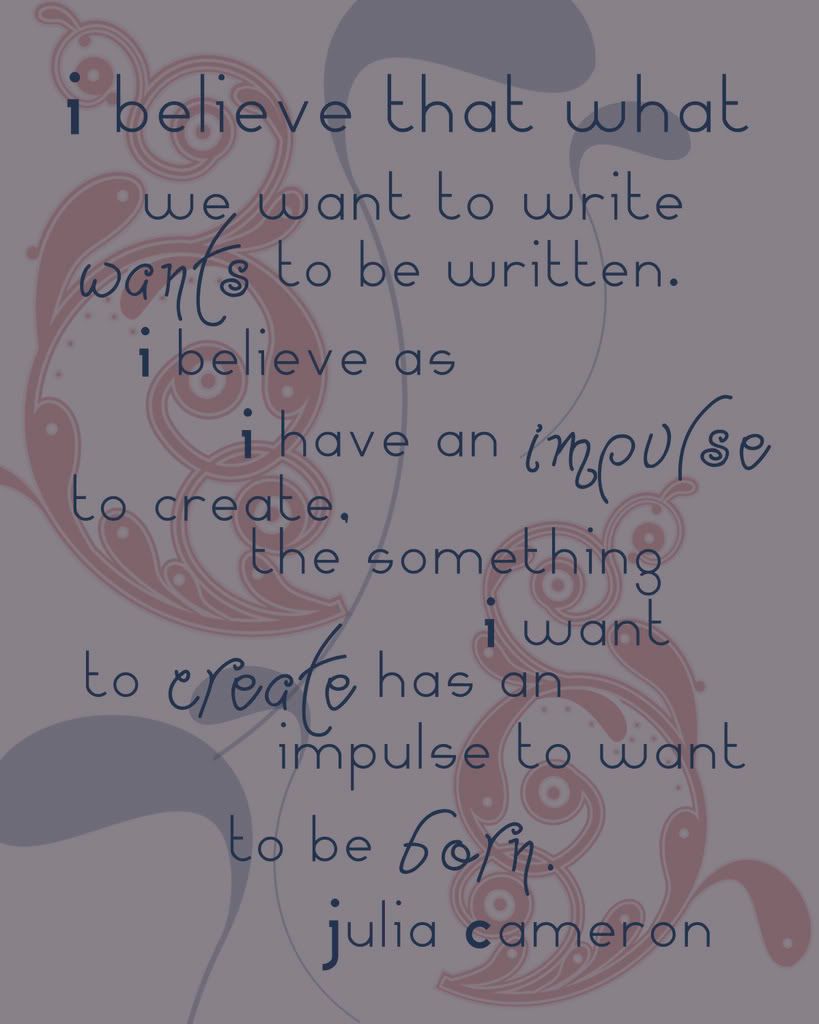
I believe that what we want to write wants to be written. I believe as I have an impulse to create, the something I want to create has an impulse to want to be born. – Julia Cameron

The preparations begin

I take a lot of crap for my creative endeavors. I really need to write up a whole rant on the subject, but lets just leave it for now by saying that for as many years as I’ve been trying to have kids, I’ve been hearing that when I do I won’t be able to make stuff anymore. That I’ll be far too busy to make anything by hand, thus allowing the person predicting my failure to feel that they could surely do everything I do if only they weren’t so busy raising children, and everyone knows that CHILDREN ARE THE FUTURE.

I have no doubt that when Rookie gets here, my creative impulses will change dramatically. I’ll probably be much more likely to hire somebody to do a messy, complicated project I could technically do myself. I’ll take a whole lot longer to finish the projects I do start. Those projects will probably revolve around Rookie nearly exclusively, and I’ll probably be far more likely to buy something ready made rather than make something myself just because I know how.

But…I WILL STILL MAKE. This is a part of me that is so crucial to who I am that I will find a way. If he’ll sit in a sling, I’ll use a sling and make something one handed. If he’ll play at my feet, I’ll let him play at my feet while I sit at the sewing machine. If he is a little squaller that demands all of my time and attention, I’ll take careful notes of every idea I have so I can get around to it as soon as he gets old enough to cooperate. But most of all, I’ll plan ahead and organize my time.
In that spirit, I bring you a new tutorial of next year’s Christmas cards. I made them up as much as I could (they’re just waiting on next year’s photos) and then packed them away with all the Christmas decorations. Then next year, when Rookie is eight months old and into everything, all I’ll have to do is slap some photos on and pop them in the mail.

If you’re a seasoned crafter or craft blog reader, this tutorial may seem a little overly detailed. But I’m used to teaching classes where the students wanted to know the exact longitude and latitude of where every item should be placed. So hopefully there’s enough here for everyone.

P1013046
Step 1: Cut a piece of cardstock to measure 12″ x 4 1/4″.

Step 2: On the front of your cardstock, print “Merry Christmas” about 1 3/4″ from the bottom edge.

P1013047
Step 3: On the back side, print the rest of your greeting about 3″ from the bottom edge. These printing measurements are not at all rigid, so don’t stress too much. You just want the printing visible over the bottom flap.

P1013060
Step 4: Now it’s time to score to make all your folds. The best way to do this is with a black scoring blade on a fiskars trimmer. But you can also just fold everything by hand using a ruler. It will just take you forever. Starting from the top of the front of your cardstock (the side without Merry Christmas on it) you need one score 1 1/4″ from the edge, and one score 6 3/4″ from the edge. Fold along the scores.

P1013068
Step 5: Cut four pieces of coordinating paper to measure:
3″ x 3 1/2″
3″ x 4″
3″ x 4 1/2″
3″ x 5″
Score each piece 1 1/4″ from the edge and arrange so they look all cute.

P1013069
Step 6: Fold the 1 1/4″ flap up and over to enclose the patterned papers like a matchbook. Secure with a couple of staples.

P1013074
Step 7: Decorate the front. I used some tree punches and pen doodles.

That’s it. Then next Christmas I’ll put a photo or greeting or something on each of the papers, and then a photo on the front. Ta Da! It’s not like I invented the concept of a matchbook card or anything, but I’m just wild about the idea of sharing so many photos in this way. Feel free to borrow this idea, but if I get one of these from someone on my Christmas card list, I might be a little put out.

More Christmas leftovers

OK, OK, even I’m getting a little tired of Christmas by now, so I really need to wrap up some of these things I’ve got sitting around here.

I really wanted to keep all the decorations up until the end of the month, but it looks like everything will be coming down this weekend. Bear finally turned to me and said, “OK, I love Christmas too, but now we just look lazy.”

So before I say goodbye to Christmas for another year, I’d better show off the last of the projects I managed to crank out.

Since this was our first Christmas in the house, and thus our first Christmas with a big grand staircase, I absolutely had to make a big grand garland. Mike and Sally have been slowly starting to weed out their decorations once they threatened to take over their house, so Sally gifted me about 18 ft of naked garland that I fancied up with berries and ribbon and jingle bells and glittery ornaments. This is the kind of project I love after a ton of intricate, long-term, detailed projects. A couple of hours with a glue gun, and done.
P1012909

The one useful thing I took away from my time working at Michael’s? I now know how to make a bow like a mad woman.
P1012910

Of course, I have to show off this year’s Christmas card. The front says “Merry Christmas,” and then the inside says, “From the Whole Family.” Get it? Cause the cats, and the belly. Gosh, we are such dorks.
Christmas2007
I’m kind of known for my crazy over the top Christmas cards, but with all the work on the house I needed something streamlined. This one worked out just super, because nearly all the work was in printing. After printing the cards and photos, all I had to do was glue on holly leaves and rhinestones. If only every idea I had came together so smoothly.

This was my big triumph. The completion of nearly six years of work. Every time I look at these I get such a feeling of accomplishment.
P1013084

This stocking is for me, and I just put the last stitches in before Christmas. Bear felt that having Mrs. Claus carrying cookies was appropriate for a “Mom” stocking.
P1013090

This stocking is for Bear, again appropriate because he is absolutely the Santa in our house. Every single year he finds a way to sneak a little extra money out of the budget so he can go above and beyond for everyone he loves. I finished this stitching about two years ago, and it’s been sitting in a drawer ever since waiting for me to get around to sewing it up.
P1013089

In the week between holidays I finally managed to wash these thoroughly, – after so many years there was a lot of dirt and even more cat hair to remove – sew them up, sew up the lining, embroider the cuff, and sew the last pieces together. Just in time to hang them up for a couple of days and then pack them away for next year.